I was trying to make a nebula texture for Tinselfly, and discovered a neat trick for doing that in Photoshop.
I used to do this sort of stuff all the time, making textures with nothing but builtin filters and effects and whatnot. I’m a little rusty now, but I thought this was worth sharing.
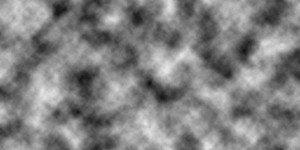
Step 1: Start with some difference clouds. Those are always great for making textures.
(Random tip: if you make your image width a power of 2 like 256, 512, 1024 or 2048, the texture you end up with will be tileable.)
Step 2: Make a new layer and just slap a black & white vertical gradient on it.
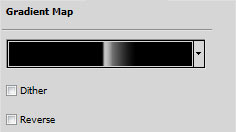
Step 3: On top the regular gradient layer, make a Gradient Map adjustment layer. My gradient map looks like this:
You want something that slowly ramps up from black to white, and then abruptly goes to black again. That abrupt change is going to define the edge of our cloud.
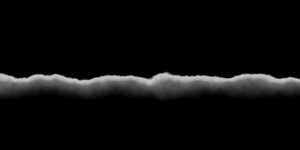
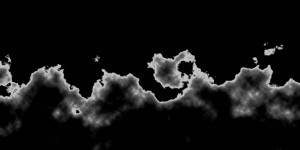
The effect it has on the layers underneath is like this:
Step 4: Now, here’s where it gets fun. Go back to your regular gradient layer you made in Step 2. Slowly lower the opacity to 0 and watch what happens.
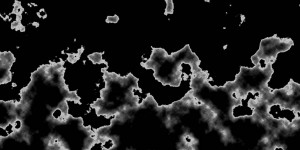
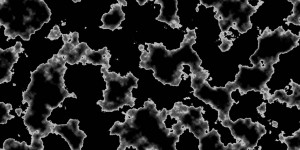
What you’re doing is changing how straight your clouds are going to be. If the gradient is too opaque, you just end up with a boring wavy line. If the gradient is too transparent, you end up with these funny blobs with no real structure. But somewhere in the middle, you’ll find something that looks kinda like the top of a large cloud, with light shining through it.
And once you’ve got that, you can add more effects to bring it to life.
I’m not done with this yet; it looks strangely flat still. But I think it’s an interesting start. And it took less time to do that than writing this post. 😉


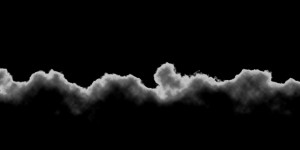
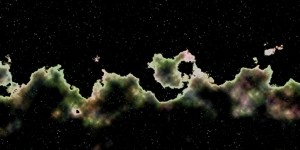
Your final image almost looks like a map, the ocean in black, the coastline in the brightest white.
I can see that… come to think of it, it’s not too much unlike the fractal landscapes I was making in Pascal in high school. Basically the same underlying techniques there.